Getting your hands on a 1950s Mercedes is a pretty special experience. These classics aren’t just about raw power; they bring together heritage, handmade craftsmanship, and a type of elegance you just don’t see in today’s cars. Now, reviving the heart of one of these machines means taking on the job of restoring its engine. I’m going to share an all-in-one roadmap for breathing life back into that beautiful old motor, making it purr like the day it rolled off the line.
Why Restoring a 1950s Mercedes Engine Is Worth It
A 1950s Mercedes engine holds more than just mechanical parts; it’s a piece of living history. Cars like the 300SL Gullwing or Ponton series not only broke new ground with engineering, but also carried a certain status that still turns heads. Bringing the original engine back to life is about protecting that story and letting future generations experience what made these cars legendary.
These classic Mercedes engines rely on durable materials and clever engineering for the time, but decades of sitting idle or inconsistent maintenance can really take a toll. Restoring an engine is a commitment, but the payoff is pretty incredible: reliability, increased value, and that unmistakable old-school driving feel. Whether you’re a fan of automotive history or just love the feel of classic machinery, stepping up the engine’s reliability gives a boost to both enjoyment and value.
What Makes 1950s Mercedes Engines Unique
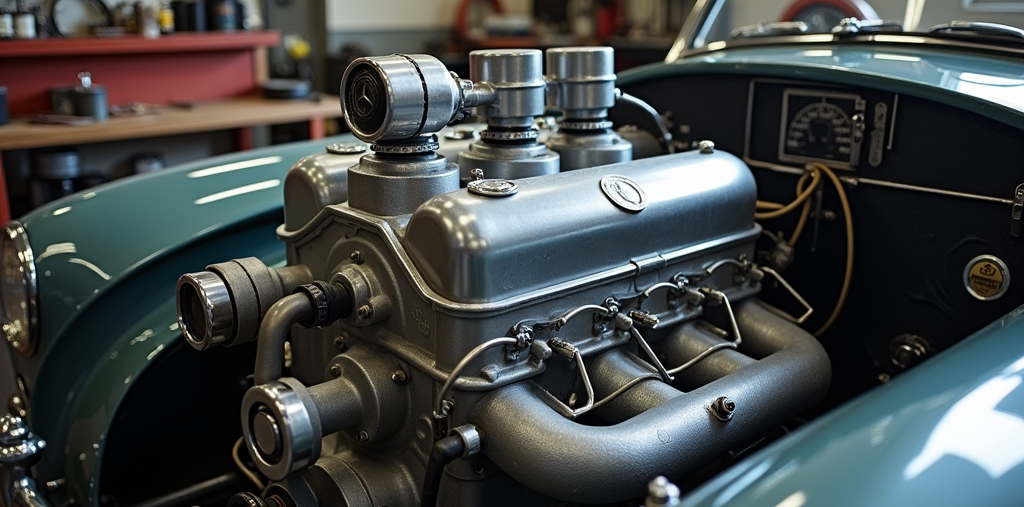
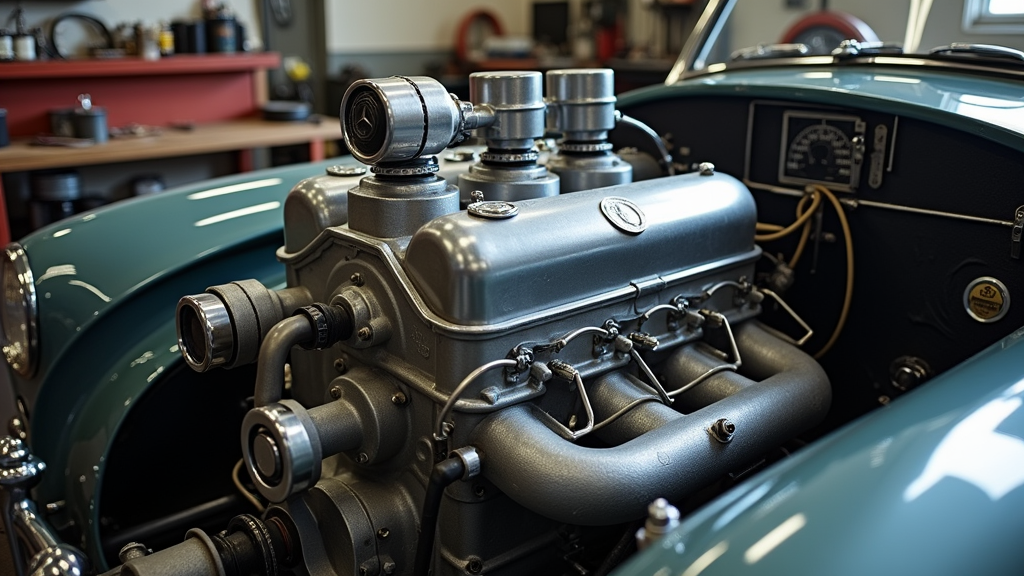
Engines from this era, whether it’s the inlinesix from a 300 series or the fourcylinder from a 190, have a different DNA compared to modern units. Expect:
- Mechanical Fuel Injection: Some higherend models, like the 300SL, pioneered mechanical fuel injection for smoother power delivery. This system was cuttingedge back then and remains an impressive piece of engineering today.
- Robust Cast Iron Blocks: These engines are heavy but built to last, with thick cylinder walls and solid crankshafts that can stand up to decades of use.
- Precision Engineering: Mercedes standards in the ’50s meant close tolerances and attention to detail, which is great for longevity but can be less forgiving if parts wear out or are put back together wrong.
I usually suggest spending time learning the quirks of your specific model by reading original manuals or joining classic Mercedes forums. These sources can help you track down unique problems and solutions that worked for others in the community.
Planning Your Restoration: Setting Realistic Goals
Engine restoration isn’t a quick weekend project, so breaking it into steps helps manage the overall process and budget. Decide what you want out of it: show car quality, reliable driver, or maybe something in between. Knowing your end goal can help guide choices between originality and upgrades.
- Full Rebuild: Tearing down the engine completely, replacing worn internals, refurbishing the head and block, and restoring to likenew. This method ensures top performance and the authentic Mercedes feel from the driver’s seat.
- Reseal & Refresh: If compression is good but seals are leaking, sometimes a deep clean, new gaskets, and adjusting timing or carburation brings solid results. This approach is more affordable but still revives lost performance.
- Engine Swap vs. Originality: Sticking with the original motor keeps the value and feel, but sometimes a swap is the only choice if the block is cracked or parts are missing. Still, whenever possible, enthusiasts aim to keep their classic Mercedes as close to factory as possible.
Before you start, make a checklist of your priorities—for instance, keeping numbersmatching components, adding modern performance upgrades, or restoring the car for regular driving. This step will help you avoid unexpected compromises later on.
Step-By-Step Restoration Guide
I’ll break down the main restoration workflow I use when tackling a 1950s Mercedes engine. Each phase deserves careful attention, and patience pays off big here.
1. Inspection and Disassembly
Start by cleaning the engine bay and removing any external connections. Take loads of photos from every angle; these make reassembly way smoother. Label all hoses, linkages, and wiring. Once out, strip the engine down to bare essentials, setting aside reused parts and documenting any broken or missing pieces. Careful labeling and organization will make the reverse process less stressful and help avoid lost hardware.
2. Assessing What Needs Replacement or Machining
Every 70yearold engine is going to need some attention, but how deep you go depends on what you find. I usually check:
- Crankshaft and bearings for scoring
- Pistons, rings, and cylinder walls for wear
- Camshaft lobes and lifters for pitting or flattening
- Valves and guides for proper seating and wear
Any pitting, cracking, or excessive wear usually means a trip to the machine shop. Take measurements with micrometers if possible for the best match. If you’re not confident in these steps, checking in with a professional machinist or classic Mercedes specialist is worth the investment.
3. Cleaning and Prepping Components
Everything should be degreased and cleaned properly; no shortcuts here. For stuckon grime, ultrasonic cleaning or bead blasting is pretty handy. This stage is great for uncovering hidden issues like hairline cracks or warping that aren’t visible under old oil and dirt. Pay special attention to oil passages and coolant jackets, which can become clogged after decades of use.
4. Sourcing Engine Parts
Depending on your Mercedes model, finding engine parts can sometimes be a challenge. MercedesBenz Classic Centers and specialist suppliers are my goto for originality, but sometimes you’ll have to hunt on enthusiast forums, eBay, or even get certain parts reproduced.
Be extra cautious with gaskets, bearings, and timing chains. NonOEM parts can sometimes have subtle differences that create big headaches down the road. Crossreference part numbers wherever possible to make sure you’re getting the right fit. For rare components, networking with other collectors or attending classic car events can help you stumble upon hardtospot items.
5. Machining and Reassembly
Professional machine shop help is usually needed for:
- Boring and honing cylinders to restore them to a perfect round shape
- Grinding crankshafts to remove wear and match new bearings
- Resurfacing heads and valve seats for proper sealing
Once the components are prepped, methodical reassembly with the proper torque values and assembly lube is key. I always use a calibrated torque wrench and follow the manual for tightening sequences. Being patient and careful at this stage pays off with a more reliable and longerlasting engine.
6. Reinstalling & First Start
When refitting the engine, check mounts and all connections twice. Prime the oiling system before first start to avoid dry bearings, and use breakin oil for the first hundred miles or so. Watching oil pressure and listening for any strange noises during those first minutes is super important. It’s a good idea to have a fire extinguisher nearby and to start the engine with just the essentials connected so you can spot issues quickly if they come up.
Things to Watch Out For During Restoration
Every engine project hits some roadblocks, especially with classics. These are the most common issues I’ve run into, and what helps keep them from slowing things down:
- Frozen or Broken Fasteners: Years of heat and moisture can seize bolts. Applying penetrating oil, using the right tools, and even some gentle heat works wonders. Sometimes, patience and several attempts are necessary.
- Parts Availability: Rare models can turn simple parts shopping into a hunt. Networking with Mercedes clubs helps track down the tough stuff. Be prepared to wait for shipping on some vintage parts.
- Documentation Gaps: Not all original service manuals (especially in English) are easy to find, but online forums or reprint manuals can usually fill in the blanks. Sharing knowledge with other owners is a valuable resource.
- Electrical Issues: Original wiring may have brittle insulation. Upgrading weak spots can save a lot of trouble later and prevent hardtodiagnose faults.
Patience and steady progress go a long way; keeping an eye out for these common problems early keeps things moving.
Extra Tips for Originality and Value
Keeping your 1950s Mercedes as close to original as possible is a big deal for value. Documentation and authenticity matter more in these cars than in most other classics.
- Document Every Step: Take photos and keep a logbook of what’s done, who did the work, and which parts were used. Potential buyers love proper records—these details demonstrate your care and dedication.
- Use PeriodCorrect Finishes: Stick to original paint colors and hardware whenever possible; reproduction stickers and badges add the finishing touch. Even using the correct type of hardware can help your car stand out for the right reasons.
- Don’t OverDetail: Showlevel cars tend to be a little too perfect. Leaving some minor patina in nonmechanical areas often feels more authentic and connects the car’s story to its past.
If you’re ever unsure about a detail, checking with factory documentation or a knowledgeable Mercedes club member can give you peace of mind that your restoration is on track.
Common Questions About Engine Restoration
I hear plenty of questions from folks wanting to tackle their first classic Mercedes engine. Here are the ones that come up most:
Question: How much does it cost to restore a 1950s Mercedes engine?
Answer: It depends on how deep you go. A basic reseal and refresh can be under $3,000 if you do most of the work yourself, while a full, professional rebuild can top $10,000 or more. Parts sourcing and machine work are usually the biggest factors, so keeping track of costs helps avoid surprises.
Question: Are tools for working on 1950s Mercedes engines special?
Answer: Basic hand tools get you started, but you’ll want a torque wrench, micrometers, and some Mercedesspecific pullers if you’re getting deep into it. These cars were built with metric fasteners, so a full metric toolkit is handy. Specialized tools can sometimes be rented or borrowed from club members.
Question: How long does a restoration take?
Answer: Plan for several months, not weeks, especially if machine work or parts delays crop up. Working methodically and doublechecking everything helps avoid shortcuts that cause headaches later. Take your time and focus on doing the job right, not just quickly.
The Rewards of Restoring Your 1950s Mercedes Engine
Finishing an engine restoration means more than just getting the car to run again; it’s about unlocking the full character and spirit of your Mercedes. A freshly rebuilt classic engine transforms the drive: smoother throttle, a more confident idle, and that satisfying oldschool mechanical soundtrack under the hood. On top of that, an authentic and wellrunning engine makes your classic far more enjoyable and increases its appeal to collectors if you ever decide to sell.
Each restored engine is a tribute to its era, proof of your dedication, and a joy to drive. When you take that first drive, the sense of accomplishment is hard to match, and every mile after reminds you why you brought this old heart back to life. Whether you’re chasing awards, building memories with family, or just soaking up the admiring looks on the street, restoring a 1950s Mercedes engine is rewarding in every sense.